Hello and welcome to day 4 of the
My Favorite Things December Release Countdown. For the next five days, we'll be sharing cards and projects featuring all of the new products coming out on December 5th at 9pm EST.
For today's card, I decided to get creative with the new You're Super stamp set (which is a re-release of the original set but with updated sentiments and fonts) and create a holiday card. I love experimenting with my stamp sets to try and get a completely different look, and I was pretty happy with the end result on this card.
I decided to turn Super Girl into Santa Claus with her sidekick Rudolph in the distance. To make her Santa, I trimmed her out with my scissors and cut off her cape. The only part of the cape I couldn't cut off was on her shoulders, but I just coloured that red with rest of her suit and I think it blends in okay.
I then coloured her in similar colours to Santa... I did her main outfit and pants red and kept the trim on the bottom white. I coloured her boots and belt black and drew a buckle on a scrap of white card stock with a black marker, coloured it, cut it out and glued it on top of her belt.
Now any good Santa needs a hat, so I searched through my stamp sets and found a perfect fit on one of the Santa's from Jingle All the Way. I did have to give her a bit of a haircut to make it fit, but I think it looks pretty good LOL! ;)
I love this deer image from the Merry Everything stamp set and knew I had to have him on the card. His stance and expression is so cute to me, and I think he was just meant to go with this new version of Santa. ;) I coloured him with Copics as well, and then I cut him out and gave him a big red gem for a nose.
I decided to add them to a winter scene that I coloured with my Copics, and I added some snow hills for them to stand in. I wanted him to look back in the distance since his sizing is a bit off for her size, so I put him in a deeper snowbank and brought her really close to the card front in a smaller snow hill.
Thanks so much for joining me for Day 4 of the December release countdown. Make sure to head over to the
MFT blog for a closer look at the new products and more ideas using them. See you tomorrow for more countdown fun!!
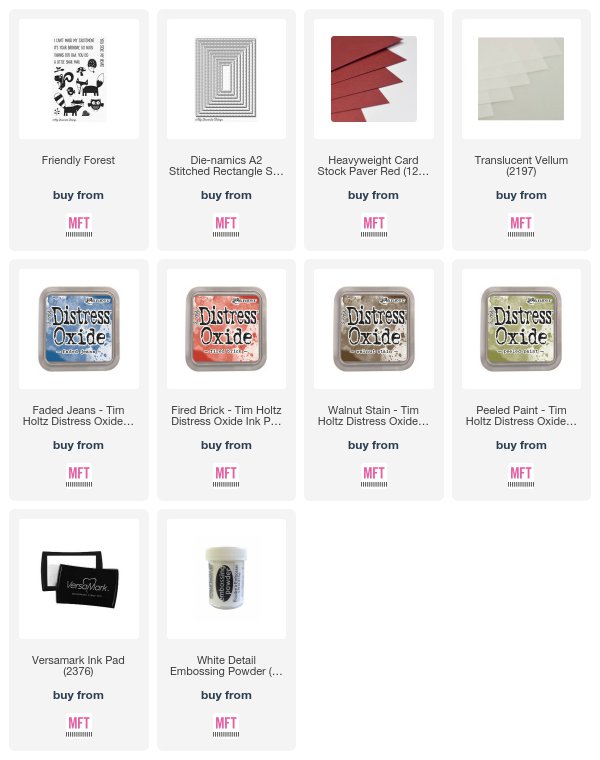
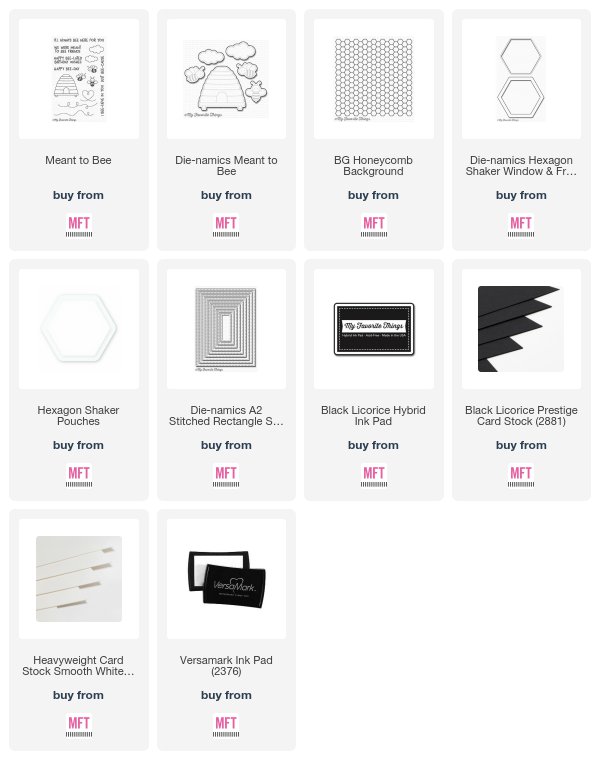
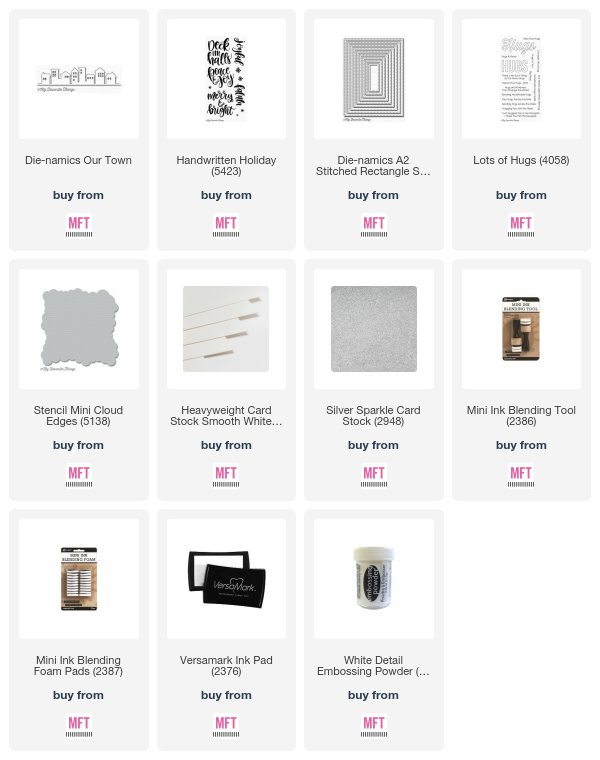
Supplies